2.3. Install VirtualBox
Having gathered the information about your computer in the last section Find out what kind of hardware you have, and downloaded the software files software, we are now ready to start installing our scientific system.
To begin, locate the VirtualBox Installer you downloaded, and Click (maybe twice?) to start it.
This will start the installer.
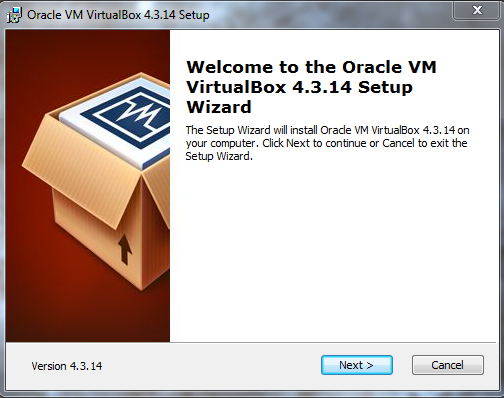
Naturally, you will click Next.
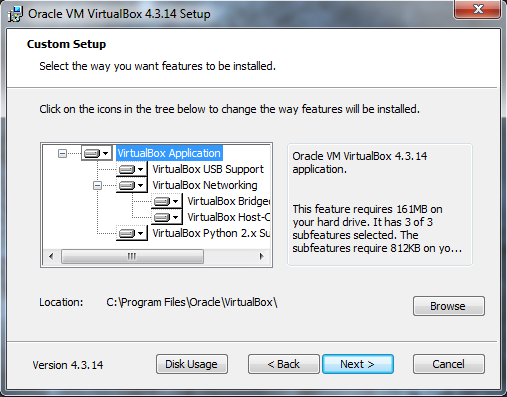
Then Next again, to accept the installation of the standard package
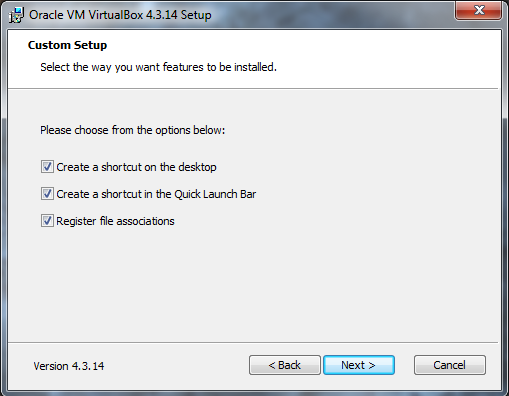
Here you can choose which things you like: an Icon on your desktop, an Icon on your launch bar, or not.
Note
It is important to leave “Register file associations” CHECKED.
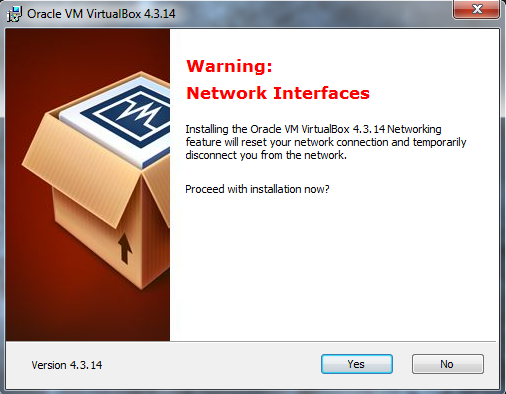
The installation will temporarily disconnect your network connection, but will then reconnect it. Click Yes.
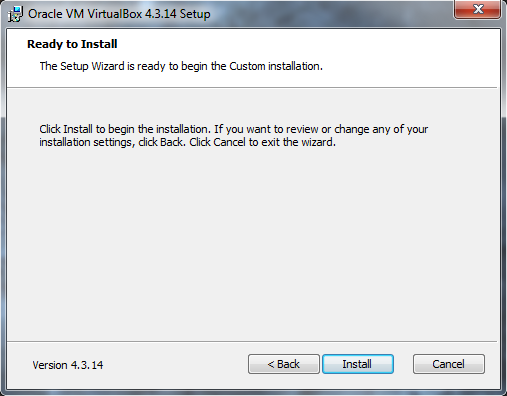
Now we are ready to install. So click Install !
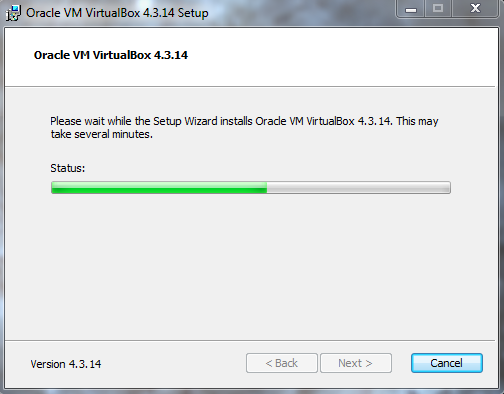
VirtualBox will show you the status of the installations.
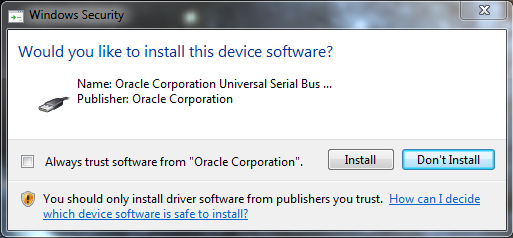
It MAY pop-up a screen like this asking if you Trust Content from Oracle (perhaps a few times). If so, click Install and continue. If you want to, you can check the Always trust software from “Oracle Corporation” box.
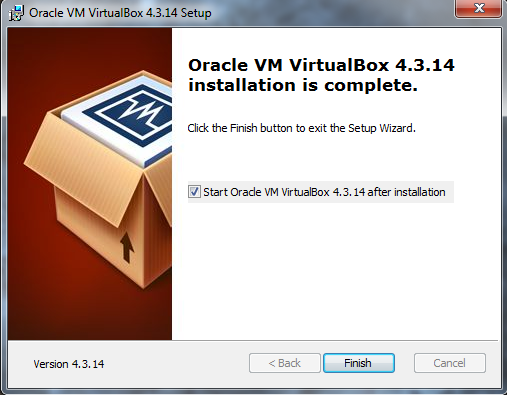
Success! Now click Finish. VirtualBox will launch, and you should see the screen below.
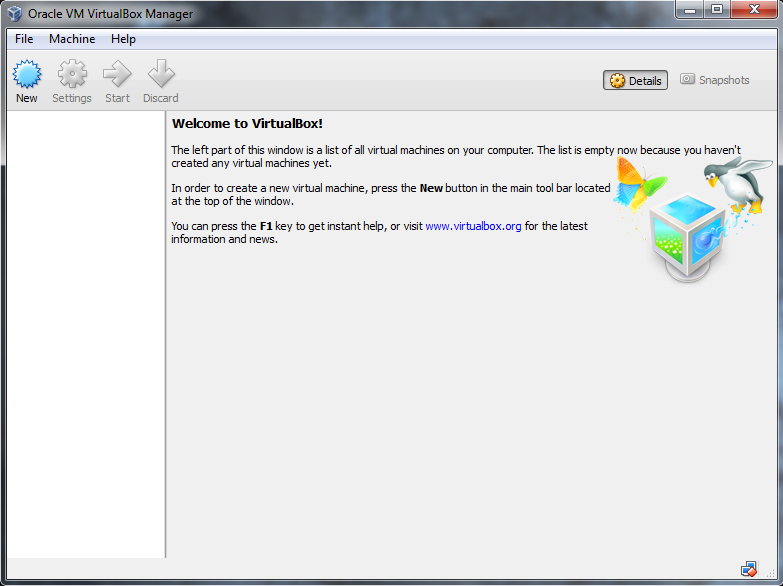
Warning
**If you do not ** this screen, somthing went wrong. Probably it’s a little thing. Contact Prof. Hetrick.
If you need to do so, please include as much information about the error as you can. Screenshots would be appropriate!
Next we will create a VM and install Fedora Scientific Linux on it.